
Knowing the square footage of your countertop is one of the first steps before planning a kitchen renovation or bathroom update. Accurate measurements help homeowners estimate material costs, compare countertop options, request better quotes, and avoid unnecessary waste.
For simple layouts, measuring a countertop can be fairly easy. Straight counters usually require only length and width. More complex layouts, such as islands, peninsulas, L-shaped kitchens, U-shaped kitchens, and backsplashes, may need extra measurements to get a more accurate result.
This estimating guide explains how to measure countertops, calculate total area, account for overhangs and backsplashes, and avoid common mistakes. East Coast Granite of Winston-Salem also provides professional measuring, fabrication, and installation to help every countertop fit correctly.
Why Measuring Countertop Square Footage Matters
Accurate measuring helps homeowners understand how much material they may need before starting a countertop project.
Most countertop materials are priced based on size, material type, fabrication details, edge profile, and installation needs. If the measurements are wrong, the estimate may be too low or too high.
A reliable countertop estimation helps you compare quartz, granite, marble, quartzite, and other materials with more confidence.
Less Material Waste
Good measurements help reduce waste.
If too much material is ordered, the project may cost more than necessary. If too little material is planned, the project may be delayed or require extra slab matching.
This is especially important with natural stone because every slab has its own pattern and movement.
Smoother Installation
Correct measurements also support a better fit.
Countertops need to align with kitchen cabinets, walls, sinks, appliances, and backsplashes. Even a small measuring mistake can cause problems during fabrication or installation.
This is why careful countertop estimating is useful early in the planning process.
Tools You'll Need to Measure a Countertop
You do not need many tools to take early measurements.
A tape measure, pencil, paper, calculator, and straightedge are usually enough. Graph paper can also help if the layout has several sections or unusual shapes.
Write each measurement clearly and label each section of the counter. This makes it easier to review later.
Helpful Tips Before Measuring
Measure in inches for better accuracy.
Do not round too much. A small mistake in several areas can add up. If you are measuring an existing counter, include the full surface area, not only the visible cabinet base below it.
Also note sink locations, appliance openings, overhangs, and backsplash height if they are part of the plan.
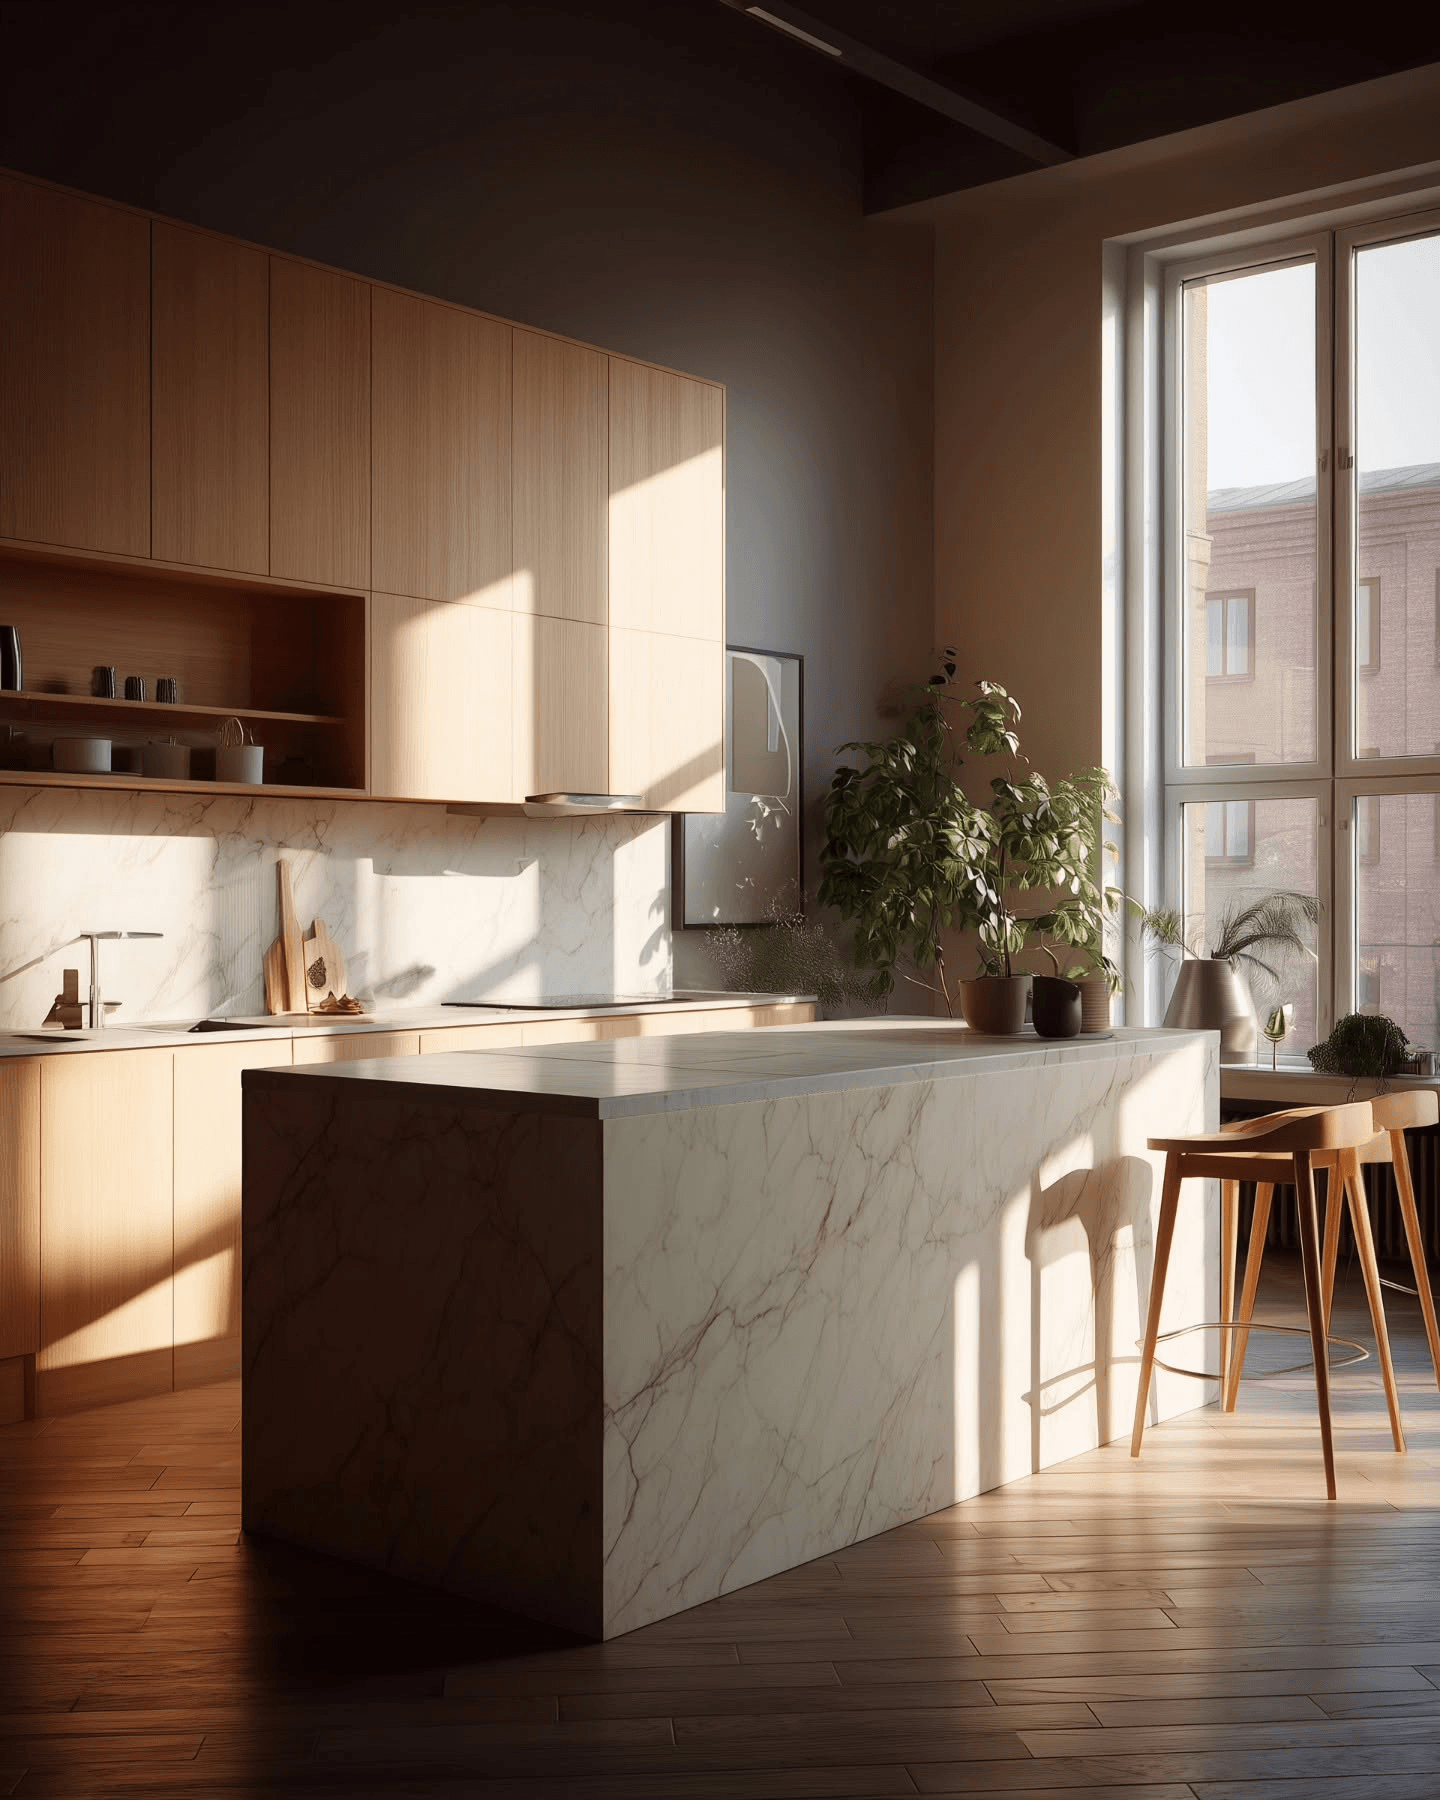
How to Measure a Countertop Step by Step
Step 1: Draw the Layout
Start by drawing a simple top-down sketch of the countertop area.
It does not need to be perfect, but it should show all main sections. Include straight runs, corners, islands, peninsulas, sinks, stoves, and any separate surfaces.
This sketch will help you organize the measurements.
Step 2: Divide the Counter Into Rectangles
Most countertops can be divided into smaller rectangular sections.
For each section, measure the length and width. Write the numbers on your sketch. If a section is irregular, break it into smaller pieces that are easier to calculate.
This method keeps the math simple and reduces confusion.
Step 3: Calculate Each Section
Multiply the length by the width for each section.
For example, a section that is 72 inches long and 25 inches deep equals 1,800 square inches. After that, divide by 144 to convert square inches into square feet.
Repeat this process for each section.
Step 4: Add the Totals
Add all sections together to get the total estimated area.
This number helps with early planning and material comparison. It can also help when requesting a rough quote from a countertop company.
Keep in mind that final pricing may also include fabrication, edge details, sink cutouts, removal, disposal, and installation.
Step 5: Include Overhangs and Backsplashes
Do not forget overhangs.
Countertops often extend beyond the cabinet base. Islands and seating areas may have larger overhangs. These areas should be included in the measurement.
Backsplashes may also need to be measured separately if they are made from the same material.
How to Measure Different Countertop Layouts
Straight Countertops
Straight countertops are the easiest to measure.
Measure the full length from one end to the other, then measure the depth from the wall to the front edge. Multiply those numbers to find the area.
This layout is common in small kitchens, laundry rooms, and bathroom vanities.
L-Shaped Kitchens
For an L-shaped kitchen, measure each side as a separate rectangle.
Do not double-count the corner where the two sections meet. Label each run on your drawing and calculate each section separately before adding them together.
This makes the total more accurate.
U-Shaped Kitchens
U-shaped kitchens should be divided into three main sections.
Measure the back wall counter and both side counters separately. Watch for corners, appliance openings, and uneven wall lengths.
Breaking the space into smaller rectangles makes the process easier.
Islands and Peninsulas
Islands and peninsulas should be measured as their own sections.
Measure the full length and width, including any overhang for seating. If the island has a sink, cooktop, or special shape, mark it on your drawing.
These details can affect fabrication and pricing.
Angled or Curved Areas
Angled or curved areas are harder to measure accurately.
For early planning, you can estimate by dividing the area into smaller shapes. For final pricing, these areas should be measured by a professional.
Custom details, waterfall panels, and edge countertops can affect both material use and fabrication.
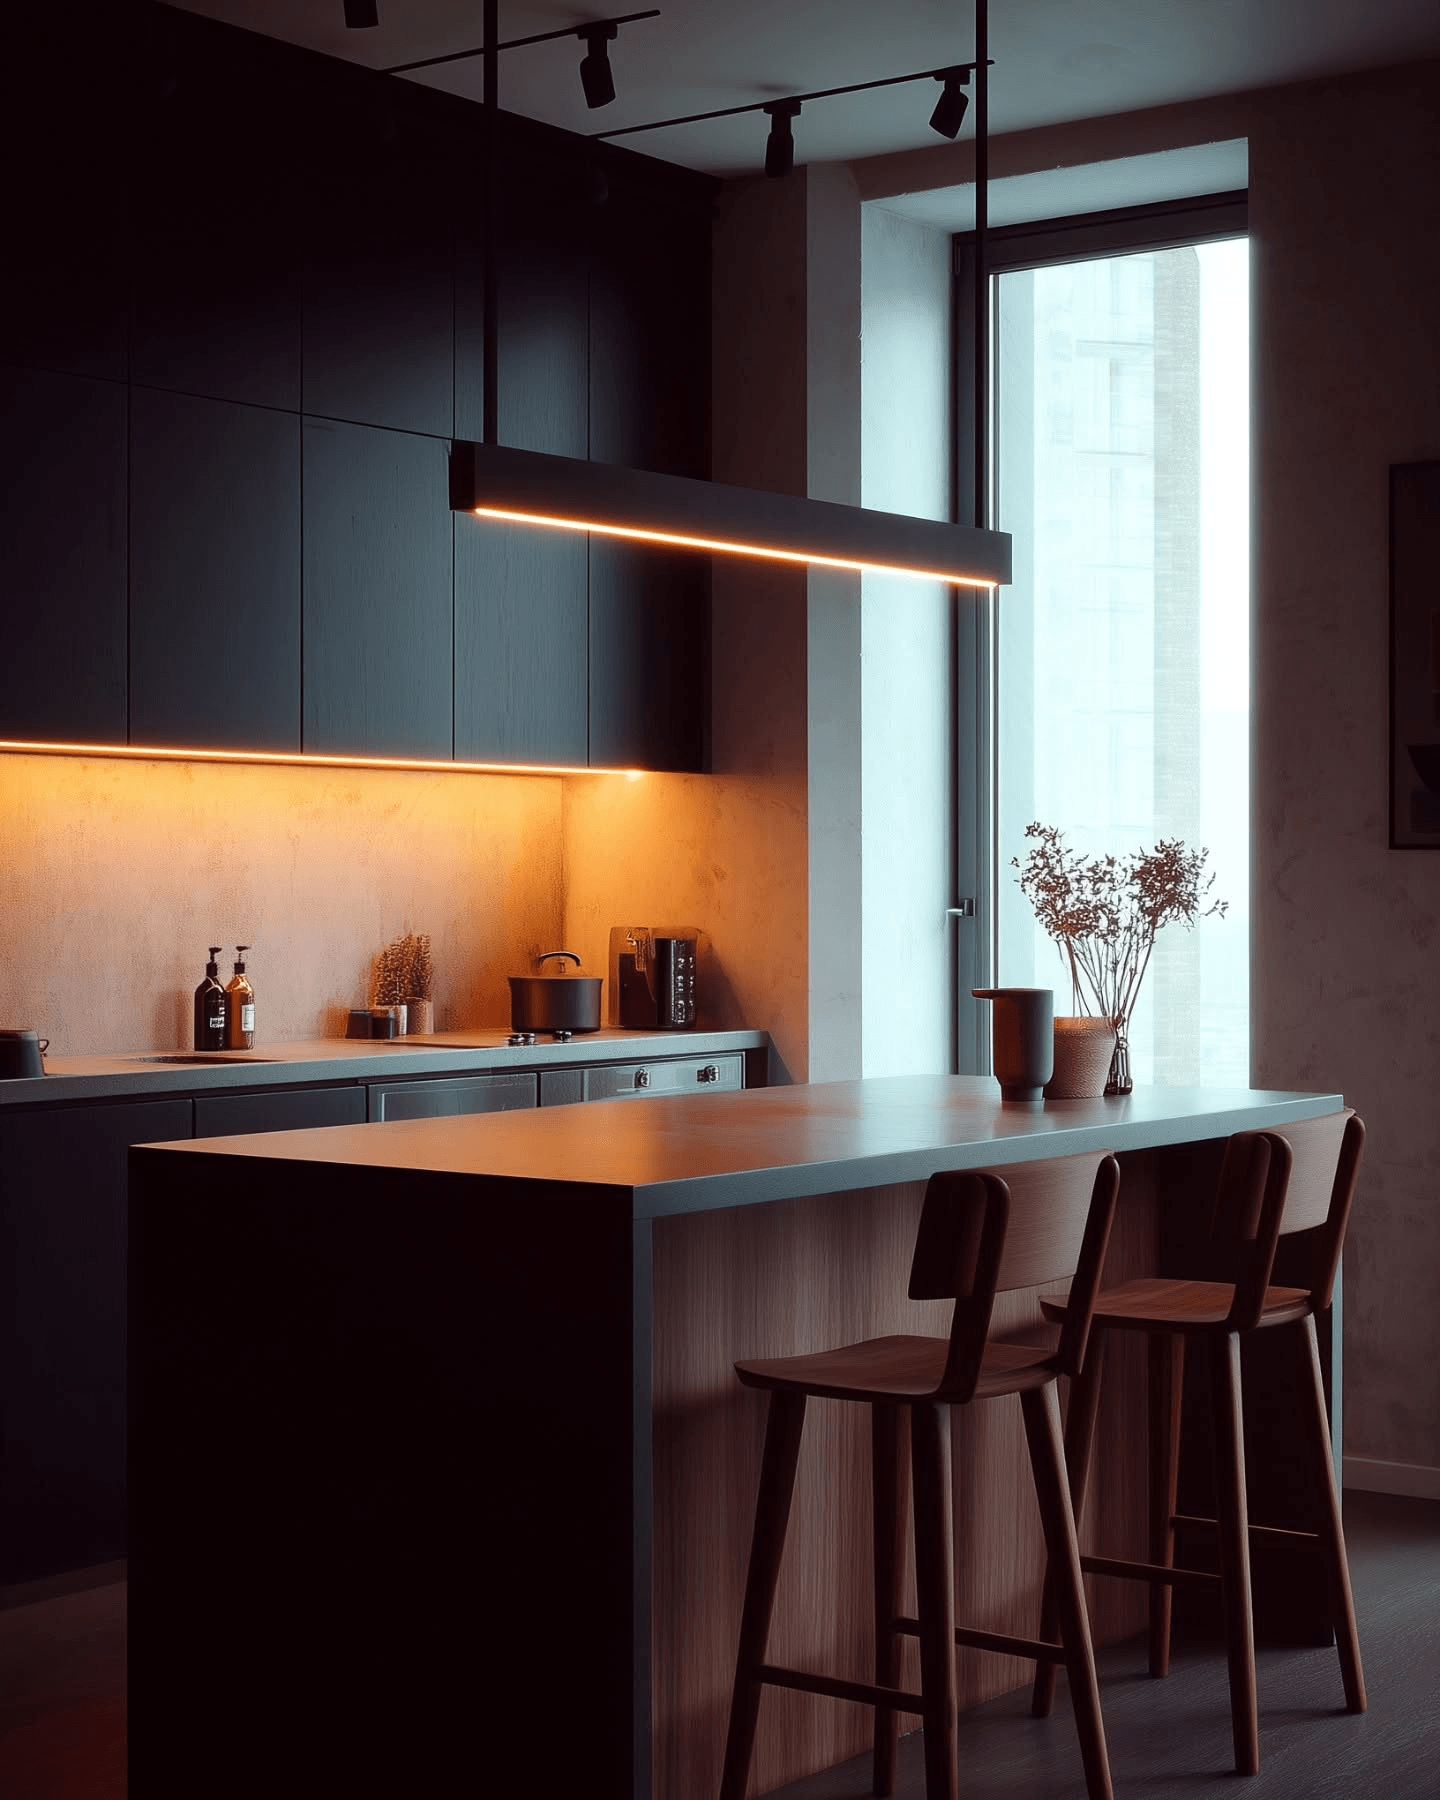
When to Let a Professional Measure Your Countertops
Complex Layouts Need Precision
Professional measuring is best for custom layouts, large islands, curved edges, full-height backsplashes, waterfall panels, and unusual cabinet shapes.
These features require precise measurements because mistakes can be expensive. A small error may lead to gaps, poor seams, or a surface that does not fit during countertop installation.
Professional templating helps prevent these issues.
Final Measurements Should Be Accurate
Early homeowner measurements are useful for budgeting, but they should not replace professional templating.
Final measurements must account for wall angles, cabinet level, sink placement, appliance clearances, seams, overhangs, and edge profiles.
This is especially important when using natural stone slabs or large-format engineered surfaces.
Work With East Coast Granite of Winston-Salem
East Coast Granite of Winston-Salem provides expert measuring, custom fabrication, and professional installation for granite, quartz, marble, quartzite, and other premium surfaces.
The team helps homeowners plan the right material, layout, edge profile, and fit for their kitchen or bathroom. With professional support, your new countertop can look better, fit properly, and perform well for years.
Contact East Coast Granite of Winston-Salem to schedule a consultation, explore materials, and start planning your next countertop upgrade.